D2
Администратор
- Регистрация
- 19 Фев 2025
- Сообщения
- 4,380
- Реакции
- 0
Installing and Setting Up Rocket.Chat on the Tor Network If you're looking to set up a secure and anonymous messaging platform, Rocket.Chat is one of the best options available. In this article, I'll guide you through the process of installing Rocket.Chat on an Ubuntu server and running it over the Tor network.
What is Rocket.Chat and Why is it Important?
Rocket.Chat is an open-source, customizable messaging platform that allows you to host your own private chat server. Running it on the Tor network enhances security and privacy for users.
Advantages of Rocket.Chat
- Private and group chats
- End-to-end encryption (E2EE)
- Voice and video calls
- User management and access control
Steps to Install Rocket.Chat on Ubuntu
1. Install Node.js
Next, locate the Node.js path and link it to

2. Install MongoDB

3. Install Rocket.Chat
5. Install
To configure MongoDB, we’ll use mongosh. Download and install it:

Next, enable
Add the following lines under the
Код: Скопировать в буфер обмена
Restart the MongoDB service:
Connect to MongoDB using mongosh:
Initialize replication:
Verify the replication status:
Create a database for Rocket.Chat:
Create a user for Rocket.Chat to access the database:
Код: Скопировать в буфер обмена
Important Note: If your username or password contains special characters (e.g., @, !, #), you must URL-encode them. For example:
Exit the MongoDB shell:
If everything is configured correctly, Rocket.Chat should start without issues.
Add the following lines:
Код: Скопировать в буфер обмена
Restart Tor:
Retrieve your onion address:
Set the

Create a self-signed SSL certificate for your onion site:
When prompted for the Common Name (CN), enter your onion site address.
Create an Nginx configuration file for Rocket.Chat:
Add the following configuration:
Код: Скопировать в буфер обмена
Link the configuration file to the sites-available directory:
Test the Nginx configuration:

Restart Nginx:
Update the
Код: Скопировать в буфер обмена
Add the following configuration:
Код: Скопировать в буфер обмена
These settings are all about making Rocket.Chat easier to set up and use, especially if you want to skip some of the usual setup steps. Let me break it down for you:
This setting is a lifesaver if you don’t want to deal with the setup wizard that pops up the first time you run Rocket.Chat. Normally, you’d have to go through a bunch of steps, like entering a valid email address, just to create an admin account. But with this set to false, you can skip all that and jump straight into using Rocket.Chat with the admin account you define in the config.
Admin Account Settings
These are the credentials for your admin account. You’ll use this to log in and manage Rocket.Chat:
-
This is the username for your admin account. You can change it to whatever you like, but `admin` is simple and easy to remember.
-
This is the password for your admin account.
This is the email address tied to your admin account. It’s mostly used for password recovery, so make sure it’s something you can access if you ever get locked out.
Database Connection Settings
Rocket.Chat needs a database to store all its data, and these settings tell it how to connect to MongoDB:
-
This is the connection string for MongoDB. Let’s break it down:
-
-
-
-
PS: Double-check that the username, password, and database name match what you set up in MongoDB. If they don’t, Rocket.Chat won’t be able to connect.
-
This is for MongoDB’s Oplog, which helps Rocket.Chat handle real-time updates and scaling.
- It uses the same username and password as above.
- local is the Oplog database in MongoDB.
Rocket.Chat Server Settings
These settings control how the Rocket.Chat server runs:
This is the main address of your Rocket.Chat instance. If you’re running it over Tor, replace rocket-chat.onion with your actual .onion address.
-
This is the port Rocket.Chat will use to run. By default, it’s set to
Why These Settings Matter
By setting these up, you’re basically telling Rocket.Chat:
1. Skip the boring setup wizard : I don’t want to deal with it.
2. Create an admin account for me : here are the credentials.
3. Connect to my database here’s : how to find it and log in.
4. Run on this address and port : so I know where to find it.
This way, you can get Rocket.Chat up and running quickly without jumping through hoops. If you’re running it over Tor, it’s even more important to get these settings right so everything works smoothly.
Create a systemd service file for Rocket.Chat:
Код: Скопировать в буфер обмена
Enable and start the Rocket.Chat service:

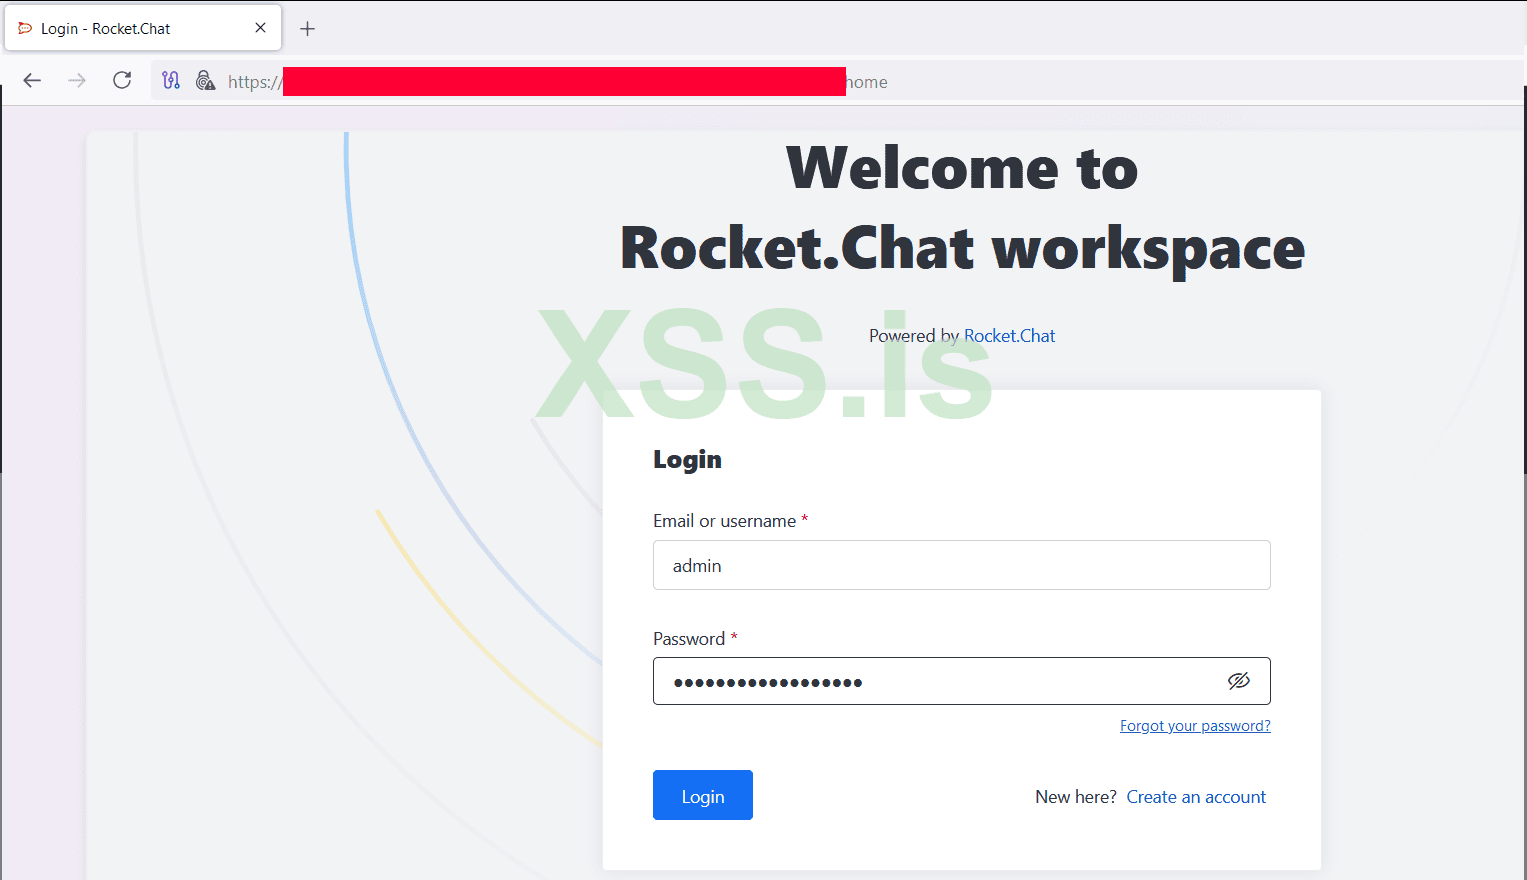
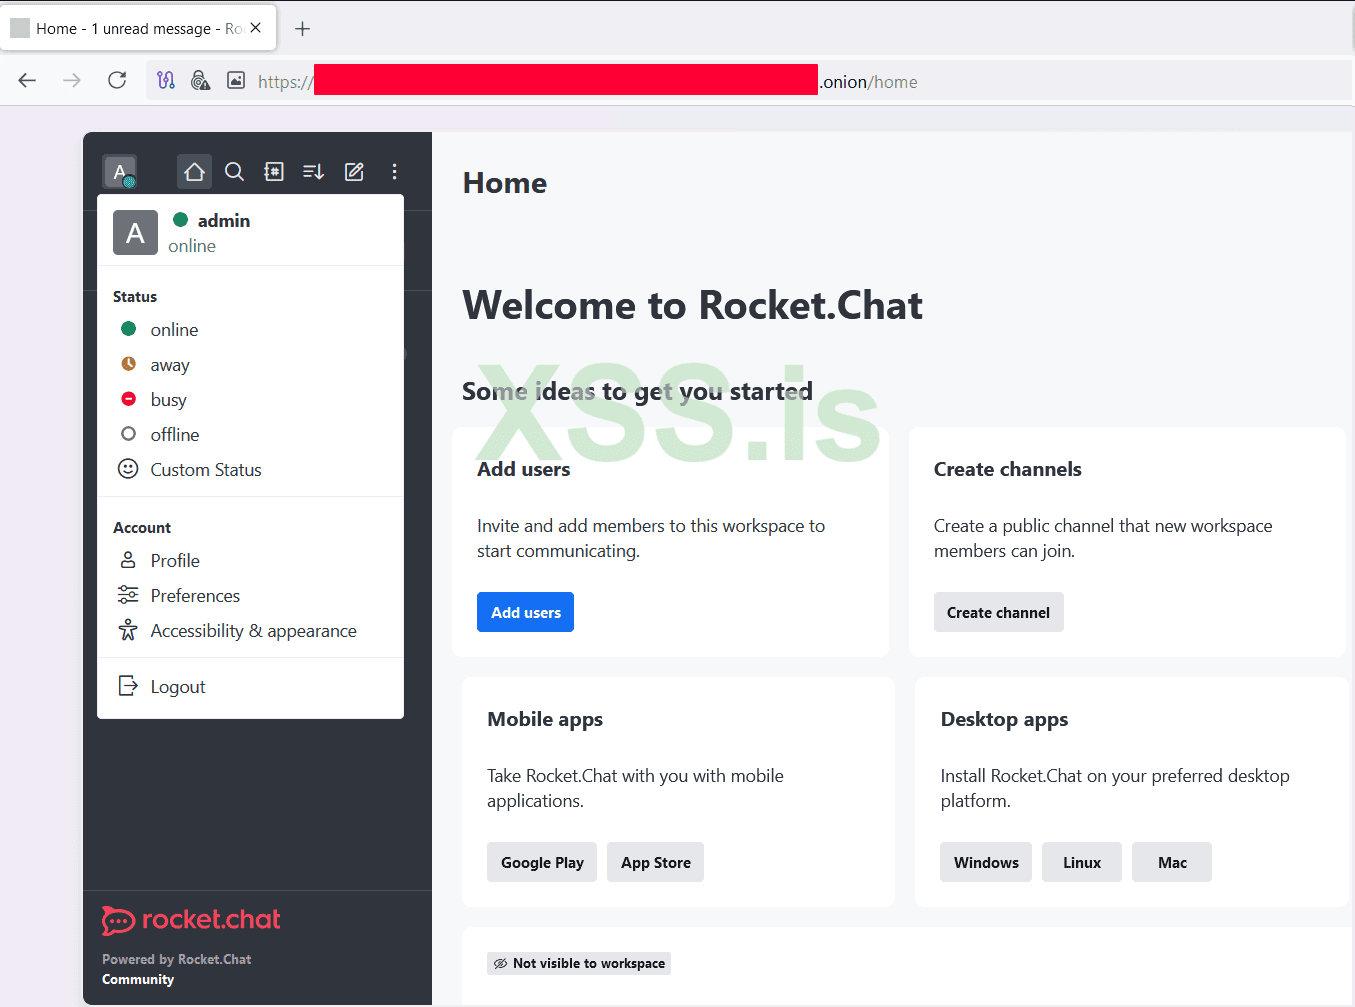
You now have Rocket.Chat running securely over the Tor network. This setup ensures privacy and anonymity for your messaging platform. If you encounter any issues or have questions, feel free to ask in the comments below!
BestRegards !
Author : blackhunt
Special for xss.is
What is Rocket.Chat and Why is it Important?
Rocket.Chat is an open-source, customizable messaging platform that allows you to host your own private chat server. Running it on the Tor network enhances security and privacy for users.
Advantages of Rocket.Chat
- Private and group chats
- End-to-end encryption (E2EE)
- Voice and video calls
- User management and access control
Steps to Install Rocket.Chat on Ubuntu
1. Install Node.js
curl -o- https://fnm.vercel.app/install | bashsource ~/.bashrcfnm install 20npm install -g npm@11node -vnpm -vNext, locate the Node.js path and link it to
/usr/bin/node:ln -s $(which node) /usr/bin/node2. Install MongoDB
wget https://fastdl.mongodb.org/linux/mongodb-linux-x86_64-ubuntu2004-6.0.1.tgztar -xvzf mongodb-linux-x86_64-ubuntu2004-6.0.1.tgzsudo mv mongodb-linux-x86_64-ubuntu2004-6.0.1/bin/* /usr/local/bin/mongod --version3. Install Rocket.Chat
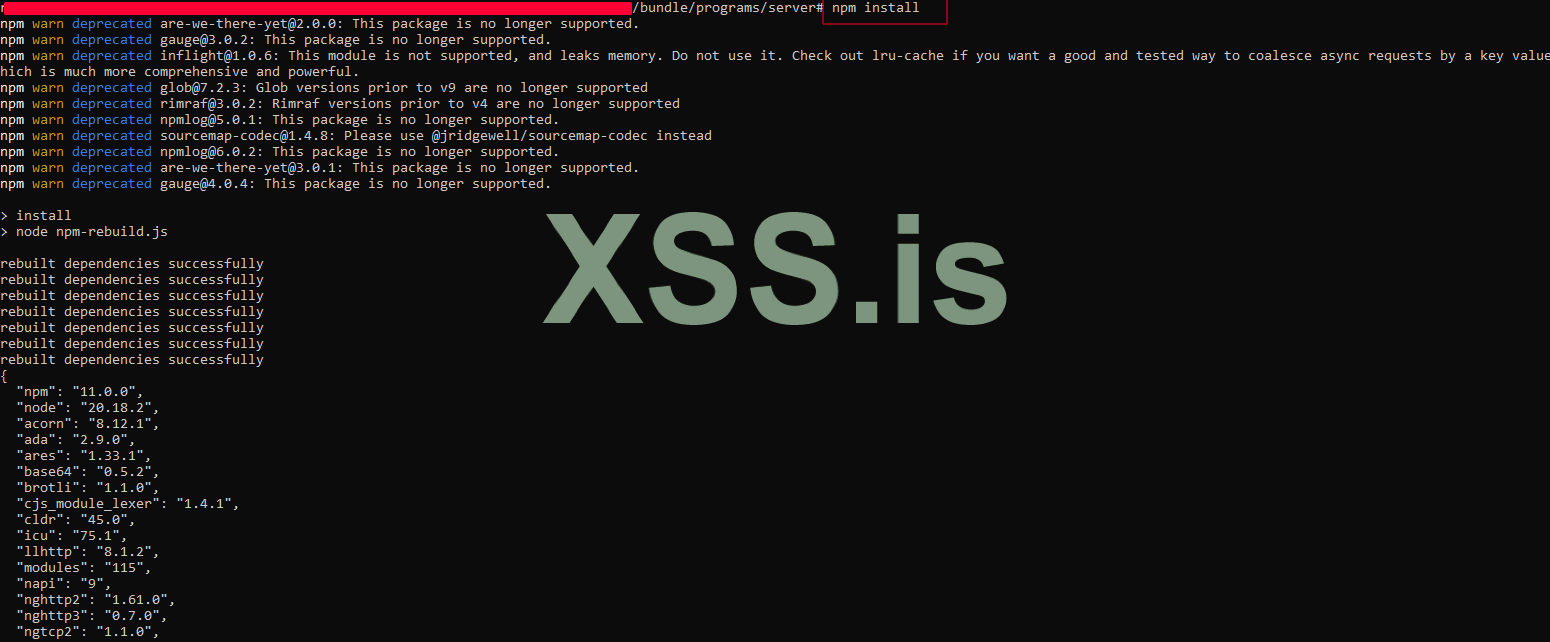
curl -L https://releases.rocket.chat/latest/download -o rocket.chat.tgztar -xvzf rocket.chat.tgzcd bundle/programs/server/npm install5. Install
mongosh for MongoDB ConfigurationTo configure MongoDB, we’ll use mongosh. Download and install it:
wget https://downloads.mongodb.com/compass/mongosh-2.3.8-linux-x64.tgztar -xvzf mongosh-2.3.8-linux-x64.tgzsudo mv mongosh-2.3.8-linux-x64/bin/mongosh /usr/local/bin/mongosh --versionNext, enable
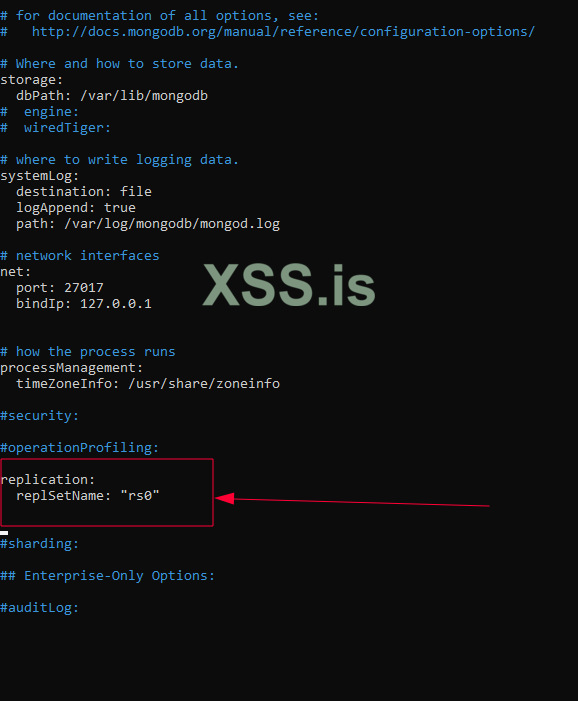
replication in MongoDB. Edit the mongod.conf file:nano /etc/mongod.confAdd the following lines under the
replication section:Код: Скопировать в буфер обмена
Код:
replication:
  replSetName: "rs0"
Restart the MongoDB service:
sudo systemctl restart mongodConnect to MongoDB using mongosh:
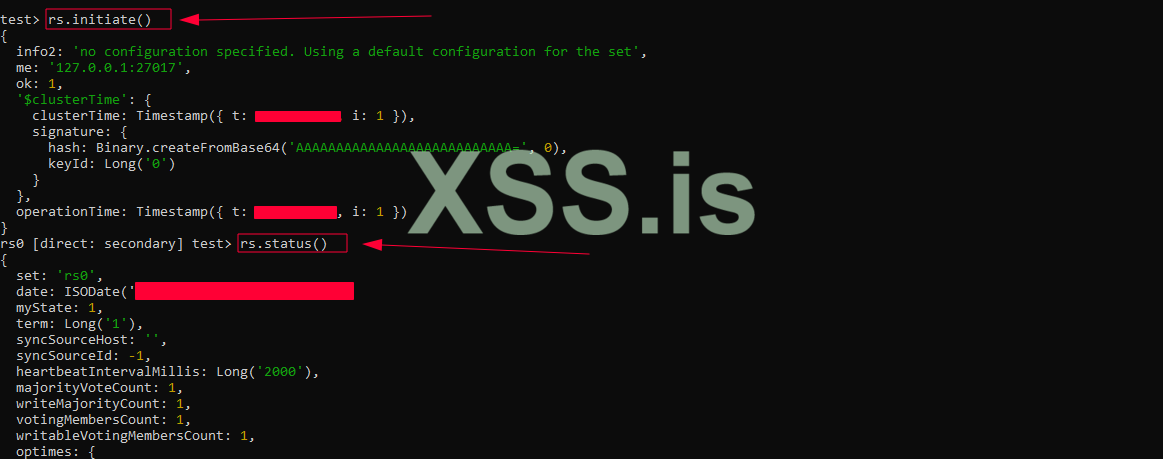
mongoshInitialize replication:
rs.initiate()Verify the replication status:
rs.status()Create a database for Rocket.Chat:
use rocketchatCreate a user for Rocket.Chat to access the database:
Код: Скопировать в буфер обмена
Код:
db.createUser(
  {
    user: "rocketchat",
    pwd: "xss@123",
    roles: [{ role: "readWrite", db: "rocketchat" }]
  }
)
Important Note: If your username or password contains special characters (e.g., @, !, #), you must URL-encode them. For example:
- xss@123 becomes xss%40123
Exit the MongoDB shell:
exitStart Rocket.Chat Manually
Navigate to the Rocket.Chat directory and start the server:cd /path/to/bundleMONGO_URL=mongodb://rocketchat:xss%40123@localhost:27017/rocketchat MONGO_OPLOG_URL=mongodb://rocketchat:xss%40123@localhost:27017/local?replicaSet=rs0 ROOT_URL=http://127.0.0.1:3000 PORT=3000 /usr/bin/node main.jsIf everything is configured correctly, Rocket.Chat should start without issues.
Setting Up Rocket.Chat on the Tor Network
1. Install Tor and Nginx
Install Tor and Nginx to route Rocket.Chat through the Tor network:apt install tor nginx2. Configure Tor
Edit the Tor configuration file to create a hidden service:nano /etc/tor/torrcAdd the following lines:
Код: Скопировать в буфер обмена
Код:
HiddenServiceDir /var/lib/tor/rocketchat/
HiddenServicePort 80 127.0.0.1:80
HiddenServicePort 443 127.0.0.1:443
Restart Tor:
sudo systemctl restart torRetrieve your onion address:
cat /var/lib/tor/rocketchat/hostname3. Configure Nginx
Edit the Nginx configuration file:nano /etc/nginx/nginx.confSet the
server_names_hash_bucket_size to 128:Create a self-signed SSL certificate for your onion site:
cd /etc/nginx/ssl/sudo openssl req -x509 -nodes -days 365 -newkey rsa:4096 -keyout rocketchat.key -out rocketchat.crtWhen prompted for the Common Name (CN), enter your onion site address.
Create an Nginx configuration file for Rocket.Chat:
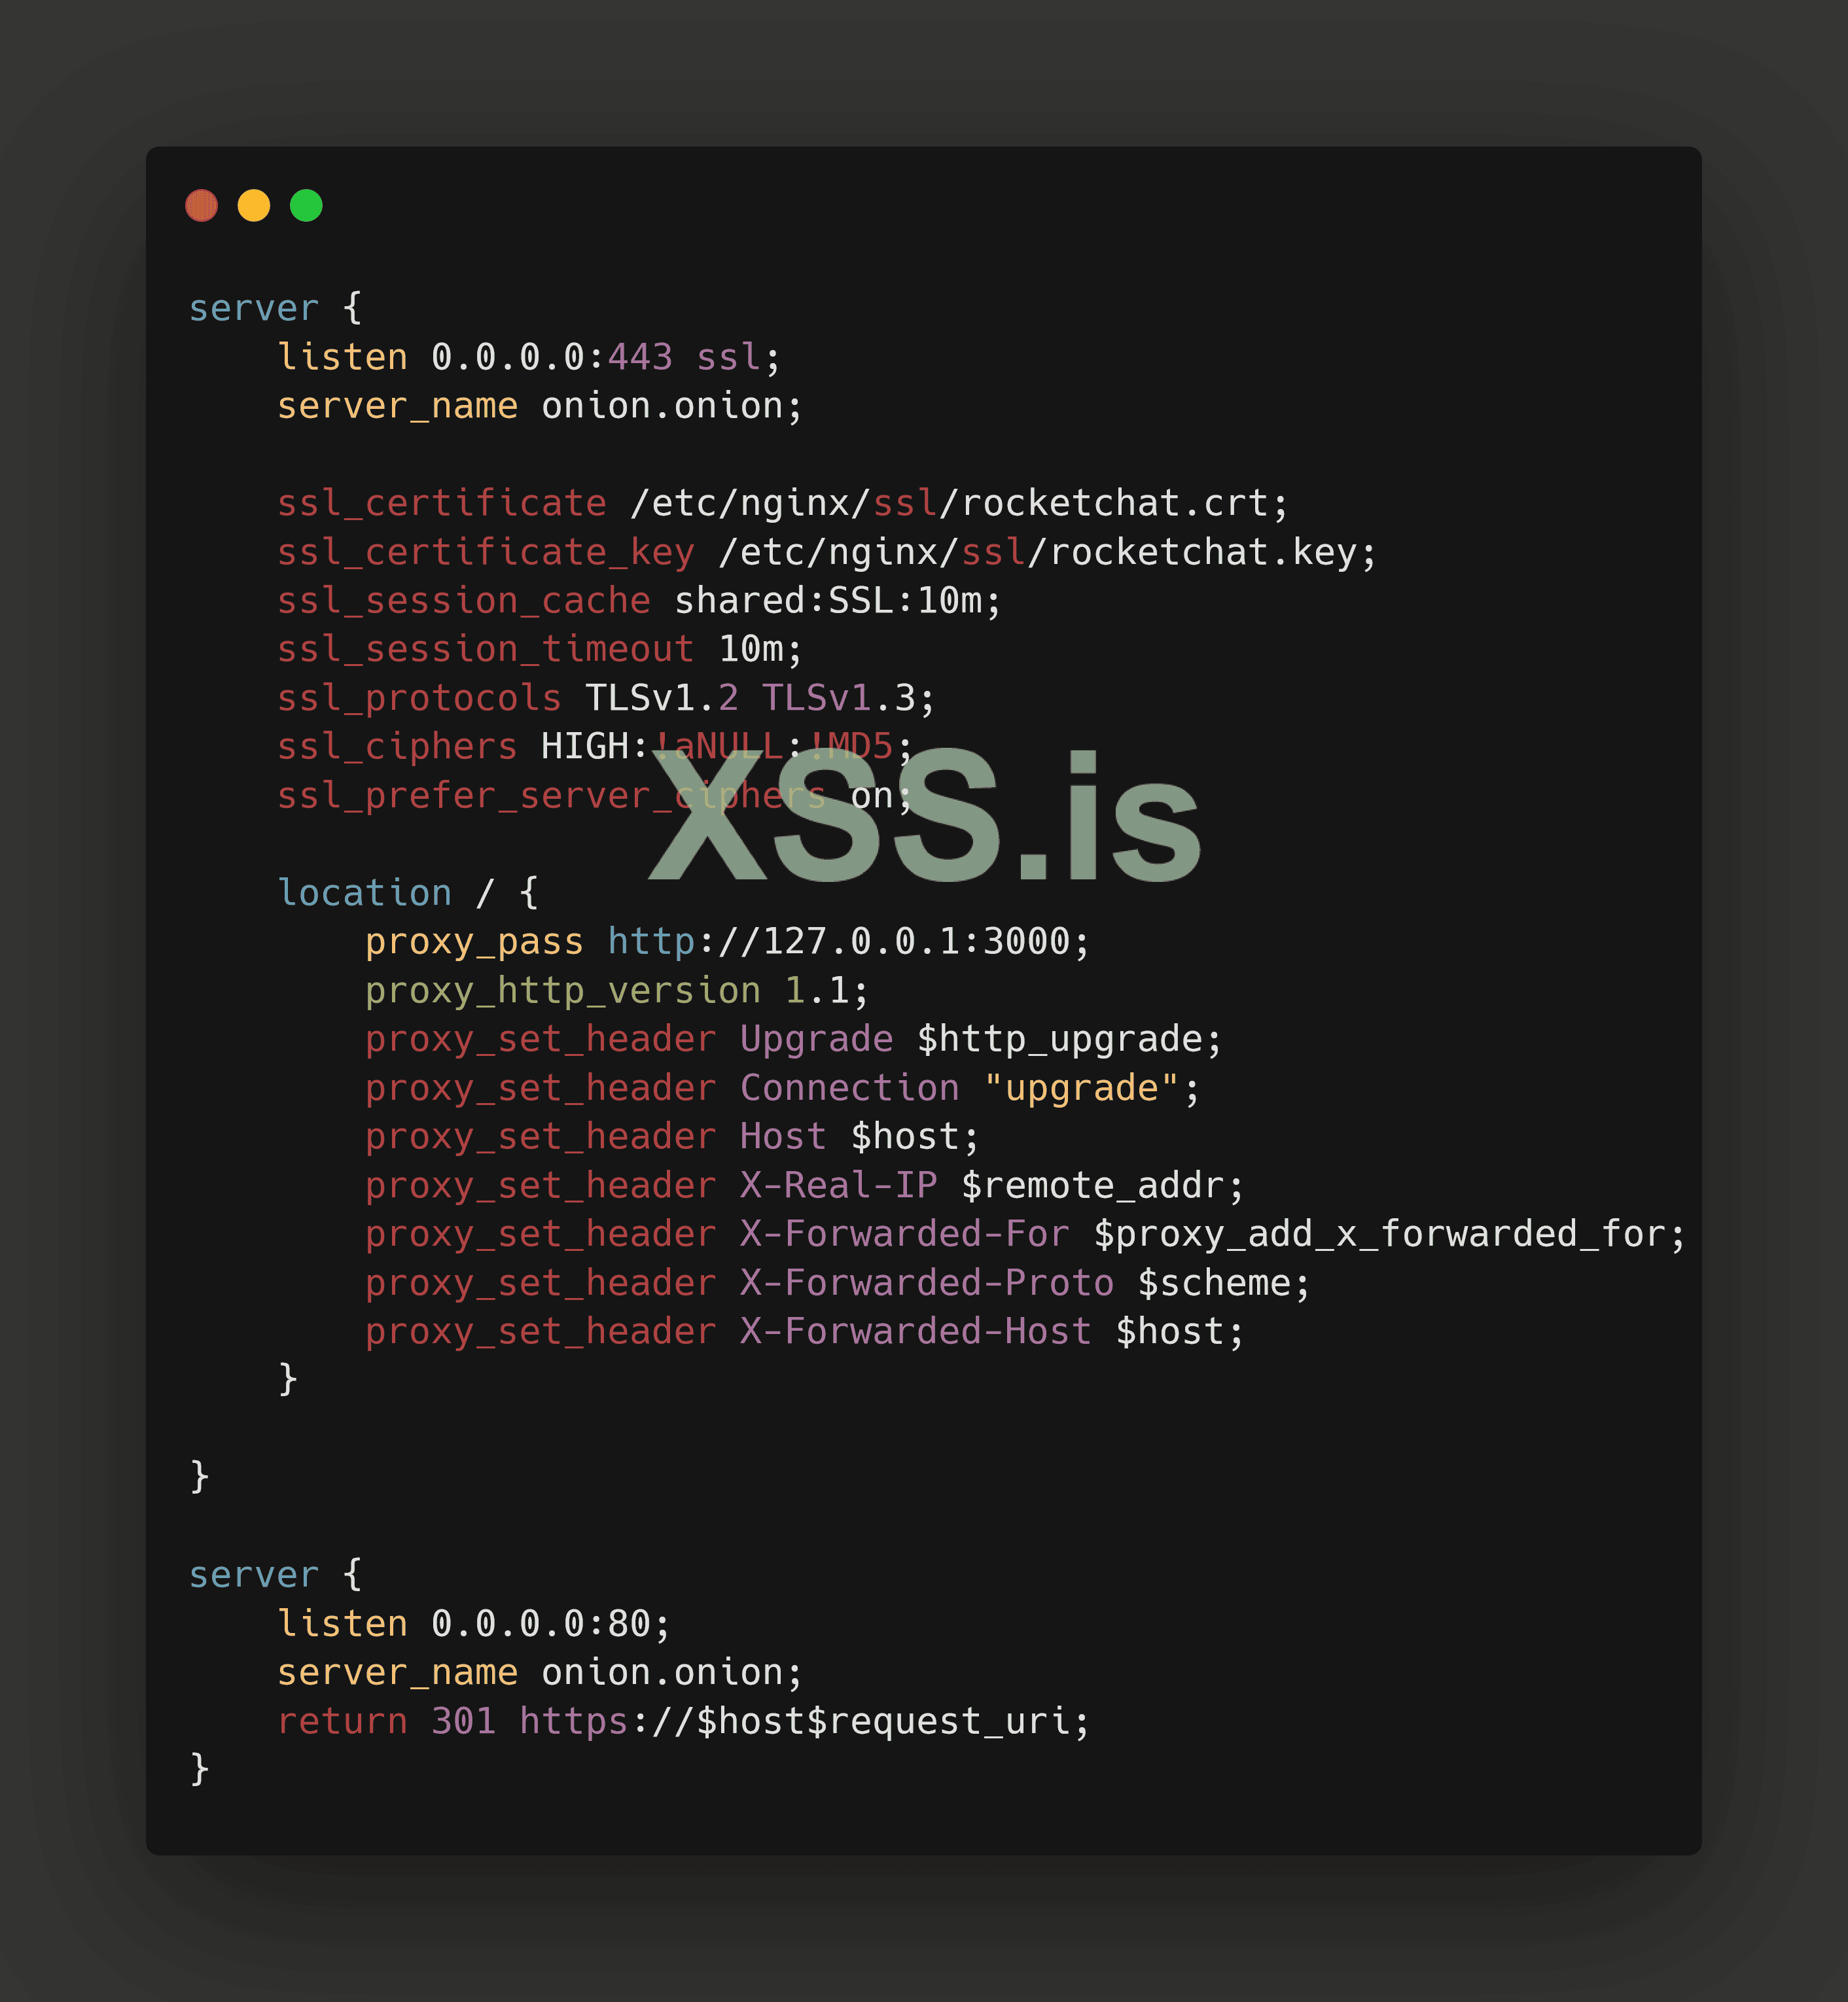
nano /etc/nginx/sites-enabled/rocketchatAdd the following configuration:
Код: Скопировать в буфер обмена
Код:
server {
    listen 0.0.0.0:443 ssl;
    server_name onion.onion;

    ssl_certificate /etc/nginx/ssl/rocketchat.crt;
    ssl_certificate_key /etc/nginx/ssl/rocketchat.key;
    ssl_session_cache shared:SSL:10m;
    ssl_session_timeout 10m;
    ssl_protocols TLSv1.2 TLSv1.3;
    ssl_ciphers HIGH:!aNULL:!MD5;
    ssl_prefer_server_ciphers on;

    location / {
        proxy_pass http://127.0.0.1:3000;
        proxy_http_version 1.1;
        proxy_set_header Upgrade $http_upgrade;
        proxy_set_header Connection "upgrade";
        proxy_set_header Host $host;
        proxy_set_header X-Real-IP $remote_addr;
        proxy_set_header X-Forwarded-For $proxy_add_x_forwarded_for;
        proxy_set_header X-Forwarded-Proto $scheme;
        proxy_set_header X-Forwarded-Host $host;
    }

}

server {
    listen 0.0.0.0:80;
    server_name onion.onion;
    return 301 https://$host$request_uri;
}
Link the configuration file to the sites-available directory:
ln -s /etc/nginx/sites-enabled/rocketchat /etc/nginx/sites-available/rocketchatTest the Nginx configuration:
nginx -tRestart Nginx:
systemctl restart nginx4. Update Rocket.Chat Configuration
Update the
ROOT_URL in your Rocket.Chat startup command to use your onion address:Код: Скопировать в буфер обмена
MONGO_URL=mongodb://rocketchat:xss%40123@localhost:27017/rocketchat MONGO_OPLOG_URL=mongodb://rocketchat:xss%40123@localhost:27017/local?replicaSet=rs0 ROOT_URL=http://your-onion-site.onion:3000 PORT=3000 /usr/bin/node main.js5. Set Up Rocket.Chat as a Service
Create an environment file for Rocket.Chat:nano /etc/rocketchat.envAdd the following configuration:
Код: Скопировать в буфер обмена
Код:
OVERWRITE_SETTING_Show_Setup_Wizard=false
ADMIN_USERNAME=admin
ADMIN_PASS=yoursecurepasswordxss
ADMIN_EMAIL=admin@xss.is
MONGO_URL=mongodb://rocketchat:xss%40123@localhost:27017/rocketchat
MONGO_OPLOG_URL=mongodb://rocketchat:xss%40123@localhost:27017/local
ROOT_URL=http://your-onion-site.onion
PORT=3000
These settings are all about making Rocket.Chat easier to set up and use, especially if you want to skip some of the usual setup steps. Let me break it down for you:
OVERWRITE_SETTING_Show_Setup_Wizard=falseThis setting is a lifesaver if you don’t want to deal with the setup wizard that pops up the first time you run Rocket.Chat. Normally, you’d have to go through a bunch of steps, like entering a valid email address, just to create an admin account. But with this set to false, you can skip all that and jump straight into using Rocket.Chat with the admin account you define in the config.
Admin Account Settings
These are the credentials for your admin account. You’ll use this to log in and manage Rocket.Chat:
-
ADMIN_USERNAME=adminThis is the username for your admin account. You can change it to whatever you like, but `admin` is simple and easy to remember.
-
ADMIN_PASS=yoursecurepasswordxssThis is the password for your admin account.
- ADMIN_EMAIL=admin@xss.isThis is the email address tied to your admin account. It’s mostly used for password recovery, so make sure it’s something you can access if you ever get locked out.
Database Connection Settings
Rocket.Chat needs a database to store all its data, and these settings tell it how to connect to MongoDB:
-
MONGO_URL=mongodb://rocketchat:xss%40123@localhost:27017/rocketchatThis is the connection string for MongoDB. Let’s break it down:
-
rocketchat is the username you created in MongoDB.-
xss%40123 is the password, but since it has special characters (like @), it’s URL-encoded. For example, xss@123 becomes xss%40123.-
localhost:27017 is where your MongoDB server is running (usually on the same machine).-
rocketchat is the name of the database you created for Rocket.Chat.PS: Double-check that the username, password, and database name match what you set up in MongoDB. If they don’t, Rocket.Chat won’t be able to connect.
-
MONGO_OPLOG_URL=mongodb://rocketchat:xss%40123@localhost:27017/local This is for MongoDB’s Oplog, which helps Rocket.Chat handle real-time updates and scaling.
- It uses the same username and password as above.
- local is the Oplog database in MongoDB.
Rocket.Chat Server Settings
These settings control how the Rocket.Chat server runs:
-ROOT_URL=http://rocket-chat.onionThis is the main address of your Rocket.Chat instance. If you’re running it over Tor, replace rocket-chat.onion with your actual .onion address.
-
PORT=3000This is the port Rocket.Chat will use to run. By default, it’s set to
3000, but you can change it if needed.Why These Settings Matter
By setting these up, you’re basically telling Rocket.Chat:
1. Skip the boring setup wizard : I don’t want to deal with it.
2. Create an admin account for me : here are the credentials.
3. Connect to my database here’s : how to find it and log in.
4. Run on this address and port : so I know where to find it.
This way, you can get Rocket.Chat up and running quickly without jumping through hoops. If you’re running it over Tor, it’s even more important to get these settings right so everything works smoothly.
Create a systemd service file for Rocket.Chat:
nano /etc/systemd/system/rocketchat.serviceКод: Скопировать в буфер обмена
Код:
[Unit]
Description=Rocket.Chat Service
After=network.target

[Service]
Type=simple
EnvironmentFile=/etc/rocketchat.env
ExecStart=/usr/bin/node /path/to/bundle/main.js
Restart=always
User=root
Group=root
WorkingDirectory=/path/to/bundle
LimitNOFILE=65535

[Install]
WantedBy=multi-user.target
Enable and start the Rocket.Chat service:
systemctl enable rocketchatsystemctl start rocketchatYou now have Rocket.Chat running securely over the Tor network. This setup ensures privacy and anonymity for your messaging platform. If you encounter any issues or have questions, feel free to ask in the comments below!
BestRegards !
Author : blackhunt
Special for xss.is